
Tip & Trick
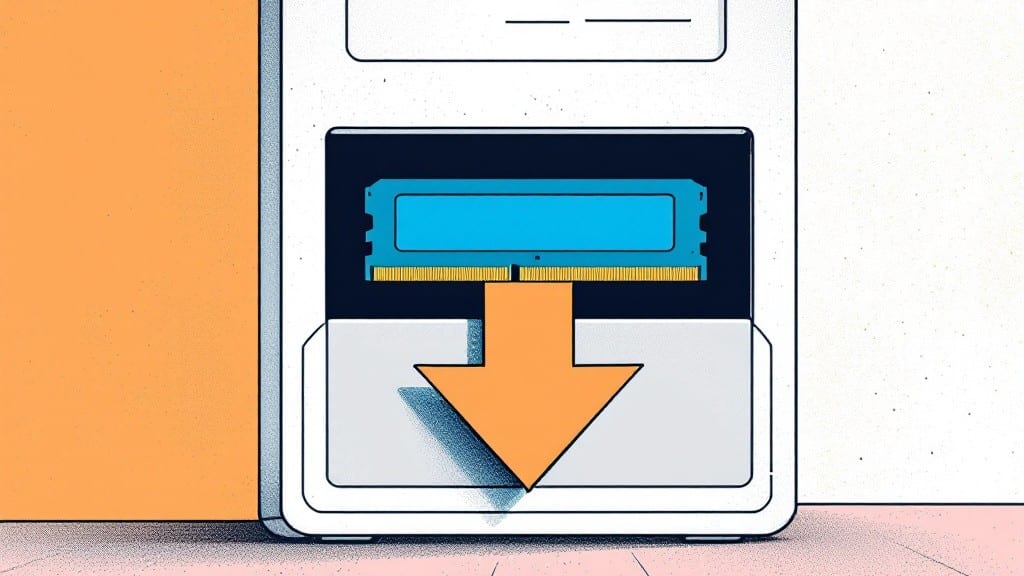
Installing RAM in a desktop PC is easier than you think—my first time was in my uncle’s basement in 1998, and I’ve done it hundreds of times since. ✨ The key is patience and checking compatibility first, which I’ll walk you through in five straightforward steps.
You’ll need just a screwdriver, a static-free workspace, and the right RAM type for your motherboard.
Start by powering down your PC and unplugging everything. Ground yourself to avoid static damage—touch the metal case before handling RAM. Check your motherboard manual to confirm RAM type (DDR4, DDR5) and slot pairing (usually A2/B2 for dual-channel).
My ThinkPads use single slots, but most modern builds need matching pairs for peak performance.
Align the notch on the RAM stick with the slot, press firmly until you hear a satisfying click, then secure it with the clips. Repeat for additional sticks, ensuring proper seating.
Boot into BIOS/UEFI to verify detection—if not, reseat the RAM or check slot compatibility. Most issues stem from loose connections or mismatched specs.
Once recognized, Windows will handle the rest automatically. For troubleshooting, use your motherboard’s QVL (Qualified Vendor List) to confirm RAM compatibility. I’ve fixed countless setups where users skipped this step—don’t be one of them. Ready to upgrade? Let’s get started.
📚 In This Guide
- What you need
- Instructions
- Tips and common mistakes
- Wrapping up and next steps
What you need
- ● RAM module(s): Compatible with your motherboard (check specs for type—e.g., DDR4 3200MHz—and quantity).
- ● Screwdriver: Phillips-head (#2 or similar) for removing the computer case.
- ○ Anti-static wrist strap (optional but recommended): Prevents static damage to components. A grounded mat or touching the case periodically works too!
- ● User manual: Your motherboard or PC’s manual (downloadable online if lost).
- ● Compressed air: Cleans dust from slots and heatsinks.
- ● Thermal paste: Only if reapplying CPU cooler (not RAM-related, but handy for future tasks!).
- ● Tweezers: For delicate RAM slot alignment (if your fingers are too big!).
Step-by-step instructions for installing RAM in a desktop PC
Here's the straightforward process I use—no tech degree required.
🔧 Step 1: Power Down and Prepare Your Workspace
First, shut down your PC completely and unplug the power cable. I always hold the power button for 5-10 seconds afterward to discharge any residual energy—this prevents static shocks that could damage your RAM or motherboard.
Work on a clean, flat surface. Touch the metal frame of your case before handling components to ground yourself. This simple step reduces static buildup that could cause installation issues. Keep your RAM modules and the case screws organized—you’ll need them in just a minute.
🖥️ Step 2: Open the Case and Locate the RAM Slots
Remove the side panel of your case (usually held by 2-4 screws). Once open, find the RAM slots on the motherboard—look for long, narrow slots with clips on either end. These slots are typically near the CPU and labeled with numbers like DIMM A1 or Slot 1.
If you're installing two modules, check your motherboard manual for the optimal slot pairing (usually slots 1 & 3 or 2 & 4 for dual-channel performance). The clips on the slots should be upright—if they're down, gently press them up to unlock the slot.
⌨️ Step 3: Align and Insert the RAM Modules
Line up the notch on the RAM module with the corresponding notch in the slot. The notch ensures proper alignment—if it doesn’t match, you’ve got the module upside down. Once aligned, apply even, firm pressure straight down until the clips on either side snap into place.
You’ll hear a satisfying click when the module locks in. If it doesn’t click, stop and check your alignment. Never force the RAM—this can bend the pins on the motherboard or damage the module. For two modules, repeat the process in the paired slot.
💡 Step 4: Secure the Case and Power Up
Reattach the side panel of your case, making sure all screws are snug but not overtightened. Plug the power cable back in and turn on your PC. The system should POST (Power-On Self-Test) and boot normally—you’ll see the RAM capacity displayed during startup or in your BIOS.
If your PC doesn’t turn on, double-check that the RAM is fully seated and the clips are locked. Sometimes a loose module can cause a no-power scenario. Once booted, open your system information (press Win + Pause/Break) to confirm the new RAM is recognized.
⏰ Step 5: Verify and Optimize Performance
Open your task manager (Ctrl + Shift + Esc) and check the Performance tab to see the updated RAM usage. Run a quick benchmark like Windows Memory Diagnostic (search for it in the Start menu) to ensure everything’s running smoothly.
Here’s the thing—if your system feels sluggish after installation, enter the BIOS (usually by pressing Del or F2 during boot) and ensure the RAM is running at its rated speed. Some motherboards default to lower speeds, and you may need to manually set the XMP or DOCP profile for optimal performance.
Tips & tricks for stress-free RAM installation
Here's what I've learned from installing RAM in dozens of PCs—these little details make all the difference between a smooth upgrade and a frustrating experience.
Static Shock Prevention: I can't stress this enough—static electricity is the silent RAM killer. After unplugging your PC, hold that power button for those full 5-10 seconds to discharge any residual energy. Then touch the metal case frame before handling components. I've seen RAM modules fail silently because someone skipped this step. Also, work on a clean, flat surface—carpet generates static like crazy.
Slot Pairing Strategy: When installing two RAM modules, always check your motherboard manual for the optimal slot pairing—usually slots 1 & 3 or 2 & 4 for dual-channel performance. I learned this the hard way when my first dual-module install ran in single-channel mode because I ignored this detail. The performance difference is noticeable, especially in memory-intensive tasks like video editing.
Alignment Technique: That notch on your RAM module isn't just for looks—it's your alignment guide. If you can't get it to fit without forcing, you've got it upside down. I've seen people try to muscle it in, and that's how you bend those delicate pins. Apply even, firm pressure straight down until you hear that satisfying click. For two modules, repeat in the paired slot—don't skip this verification step.
BIOS Optimization: Here's what nobody tells you—just because your RAM is installed doesn't mean it's running at full speed. Many motherboards default to lower speeds to ensure stability. After installation, enter your BIOS (usually by pressing Del or F2 during boot) and enable the XMP or DOCP profile for your RAM's rated speed. This simple step can give you a significant performance boost without any additional cost.
Pro Tips for Install Ram In A Desktop Pc
- Here's what I've learned from installing RAM in dozens of PCs—these little details make all the difference between a smooth upgrade and a frustrating experience.
- Static Shock Prevention: I can't stress this enough—static electricity is the silent RAM killer.
- Slot Pairing Strategy: When installing two RAM modules, always check your motherboard manual for the optimal slot pairing—usually slots 1 & 3 or 2 & 4 for dual-channel performance.
Frequently asked questions
Got questions about upgrading your RAM? You’re not alone! Here are some of the most common concerns—and their straightforward answers—to help you feel confident before diving in.
Do I need to shut down my PC completely before installing RAM?
Power off your PC, unplug the power cable, and press the power button to drain any residual energy. Working on a live system risks static damage or short circuits—safety first!
Can I mix different RAM brands or speeds in my desktop?
Technically, yes, but it’s not recommended. Mismatched RAM (e.g., 3200MHz + 2400MHz) will default to the slower speed, reducing performance. Stick to identical kits for best results—or consult your motherboard manual for supported configurations.
How do I know if my RAM slots are properly seated?
Easy! The clips on the sides of the RAM slots should click audibly and lock into place. If they don’t, gently wiggle the RAM (just a tiny bit) until they snap. Never force it—misaligned RAM can damage both the stick and the slot.
What if my PC won’t boot after installing new RAM?
Don’t panic! Start by reseating the RAM (remove and reinsert it firmly). If that fails, test one stick at a time in Slot 1 (check your motherboard manual for slot priority). If it still won’t boot, your RAM might be faulty—try it in another PC to confirm.
Do I need special tools to install RAM?
Nope—just your fingers (and maybe a tiny screwdriver if your case has a RAM slot cover). Anti-static precautions are key: touch the metal part of your case before handling RAM to ground yourself and avoid static shocks.
Still unsure? Drop your question in the comments—we’re happy to help!
Wrapping up and next steps
Installing RAM in your desktop PC is simpler than you think—and now, you’ve got the confidence to tackle it like a pro! 🎉 With the right tools, a steady hand, and the step-by-step guide above, you’ve just unlocked faster performance for your system.
Whether you’re boosting gaming speeds, multitasking smoothly, or future-proofing your build, this upgrade is a game-changer.
Ready for the next level? Dive into optimizing your PC further:
- 🔧 Clean your components to ensure peak performance.
- 🖥️ Update your BIOS for full compatibility.
- 🎮 Benchmark your new setup to see the difference!
You’ve got this—now go make your PC even more powerful! 🚀